
Manage your contacts
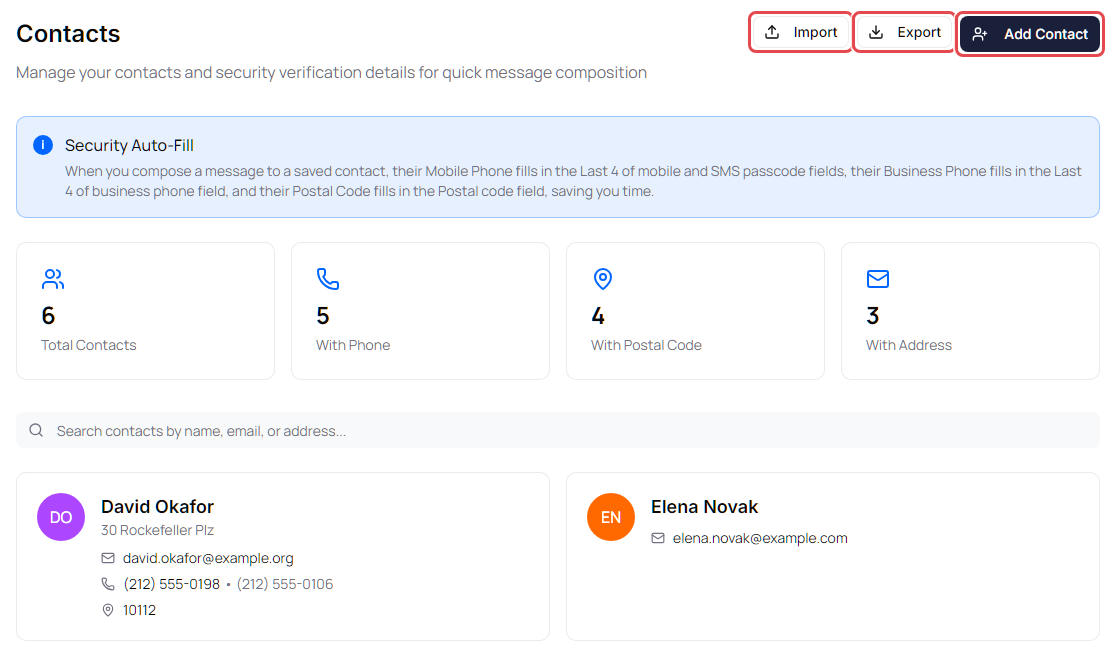
Contacts keeps the people you send secure messages to, together with the details recipients use to verify their identity. When you compose a message to a contact, Delivery Trust fills in their mobile phone, business phone and postal code for you (Security Auto-Fill).
To open your contacts, click your name in the top-right corner of the page, then click Contacts. On a wide screen you can also click the Contacts icon in the quick actions bar on the right edge of the page.
Add a contact
- On the Contacts page, click Add Contact in the top-right corner.
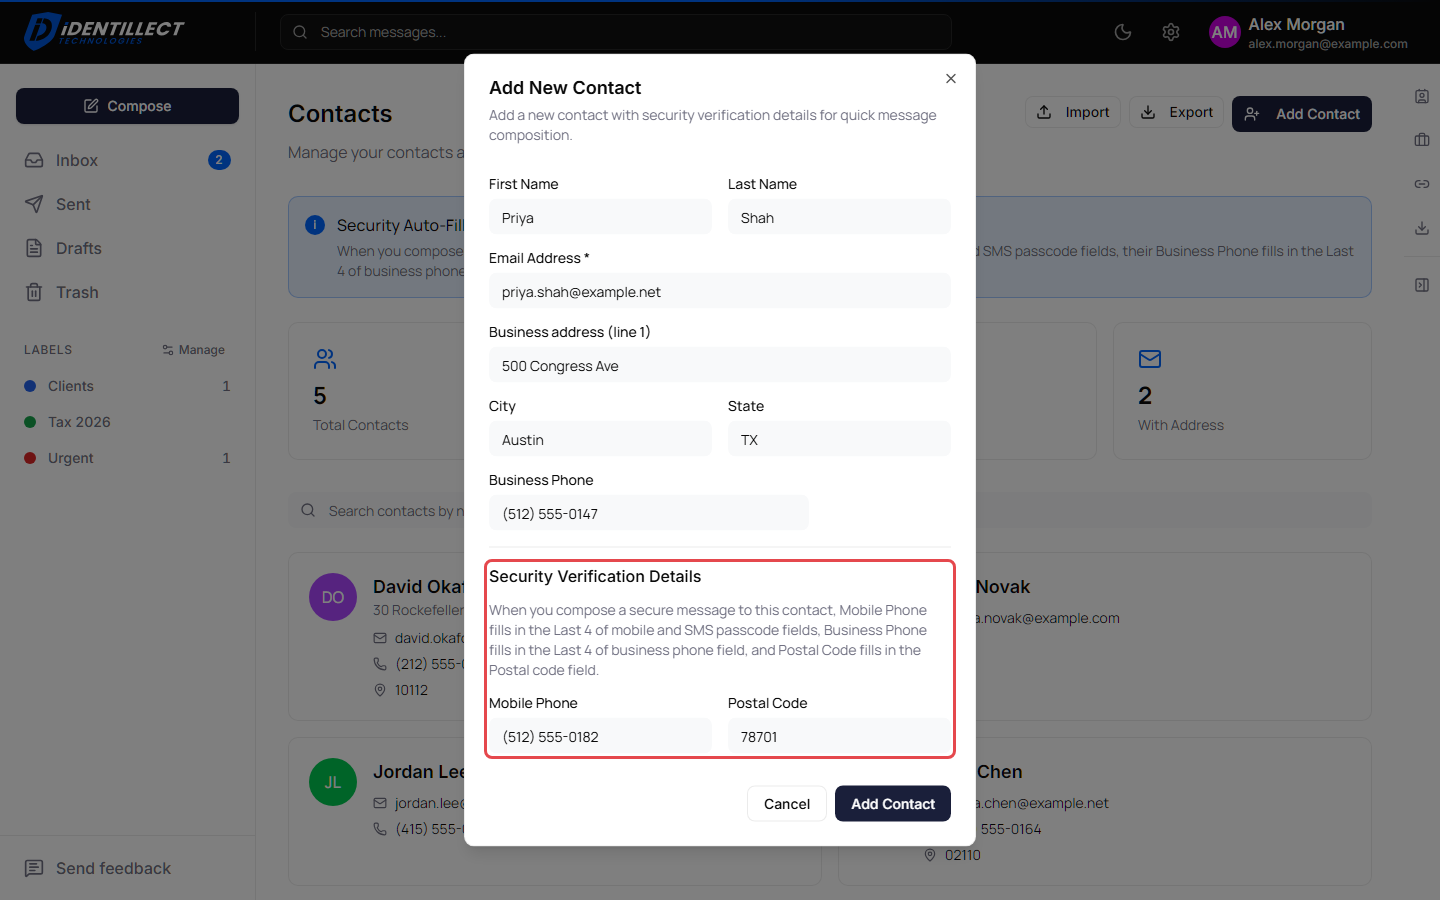
- Enter the contact's Email Address. This is the only required field.
- Optionally enter First Name, Last Name, Business address (line 1), City, State and Business Phone.
-
Under Security Verification Details, enter the Mobile Phone and Postal Code you know for this person. Security Auto-Fill uses these and the Business Phone.
- Click Add Contact.
Phone numbers can contain digits, spaces, parentheses, hyphens, dots and a leading +, for example +1 (555) 123-4567. If an entry isn't valid, the portal shows Enter a valid email address. or Enter a valid phone number. under the field; correct it and click Add Contact again.
If you see A contact with this email already exists for your account., search for that address and edit the existing contact instead.
How Security Auto-Fill works
When you add a contact as a recipient in the compose window, Delivery Trust fills in any blank verification fields from the contact:
| Verification method in the compose window | Filled in from |
|---|---|
| Last 4 of mobile | The last 4 digits of Mobile Phone |
| Last 4 of business phone | The last 4 digits of Business Phone |
| Postal code | Postal Code |
| SMS passcode | Mobile Phone (requires the MFA Authentication add-on) |
Auto-fill never replaces something you've already typed, and it doesn't choose the verification method for you. See Require recipients to authenticate.
Find, edit or delete a contact
Contacts are listed alphabetically by name, or by email address for a contact without a name.
- Find: type in Search contacts by name, email, or address... above the list. You can also find contacts with the search box at the top of the portal.
- Edit: point to the contact and click the pencil icon, change the details, and click Save changes.
- Delete: point to the contact and click the trash icon, then click Delete to confirm. Deleting a contact can't be undone.
Export your contacts
Click Export (the download icon) at the top of the Contacts page. Your contacts download as an Outlook CSV file (named like contacts-2026-10-03.csv) that you can open in a spreadsheet or import into Outlook or Google Contacts.